Environment
Redline 3
Linux
Situation
How do you install Redline in a Linux Cluster?
Resolution
To install Redline on a Linux cluster follow these instructions:
1) On one of your nodes install the Redline rpm. (rpm -U redline.rpm).
2) Redline will install to /opt/beginfinite/redline by default. Copy the entire Redline folder to each of resources. (resourcevol/redline)
3) Navigate to etc/init.d directory on the machine you installed Redline,and rename the rlagent file to rlag.
NOTE: Because the rpm installation of Redline installs both the Control Center and Agent by default, it is recommended to run "chkconfig --del rlcenter." This will make it so the Control Center doesn't load automatically. As another side note, once the Redline Agent has been copied to all of the resources in the cluster, the folder on the node can be removed.
4) Copy the newly renamed rlag file to the resourcevol/redline/bin on each resource.
5) Edit the newly renamed rlag file. Modify every listed directory in that file to point to the resource directory. The defaults will look like : /opt/beginfinite/redline/bin). Modify the path to reflect your resource volume. For example /resourcevol/redline/bin). There will be 5-6 paths within the file that need to be modified. Save the file. Make sure you edit the rlag file for each resource.
6) Open the “rlagent.conf” file that has been copied over to the cluster volume. In the “conf” folder, the “rlagent.conf” is the file that needs to be edited. Remove the “NEWINSTALL” line at the top. Input the correct Control Center information in the [CCenter1] section (IP, Port, Registration info needs to match what was put in the Control Center). On the lower agent configuration sections, enable only the agents that are running on the cluster volume and disable the rest until you get to the bottom of the file. There are some special settings that need to be added to the [HOST] and [REDLINE] sections for the cluster. For the [HOST] section under the Agent=enabled, add another line with AgentName=HOST_RESOURCE_NAME. Of course on each cluster resource you will modify the name. The name can be whatever you like, but it is recommended to name it the resource so it is easily recognized in Redline. The [REDLINE] section is very similar, add AgentName=RLAgent_RESOURCE_NAME. You’ll want to change the volume name for each cluster.
7) Startup the individual agent by specifying the path to: /resourcevol/redline/bin/rlag start
Unload the individual agents by referencing the same path: /resourcevol/redline/bin/rlag stop
These are your start and stop scripts.
8) Finally make sure that you have the Redline libraries installed on each node. To do that locate the Redline.tar.gz file. This is located in the install folder that Redline was downloaded. Go to the redline directory.
Then go to linux.suse10 directory. (If you are using Suse9 go to that directory instead)
Open up the redline directory in here.
In here should be two files.
redline-3.1.0-1.i586.rpm and redline.tar.gz
Unzip the redline.tar.gz
A new directory will appear called: bintree
Open up bintree and go to lib.
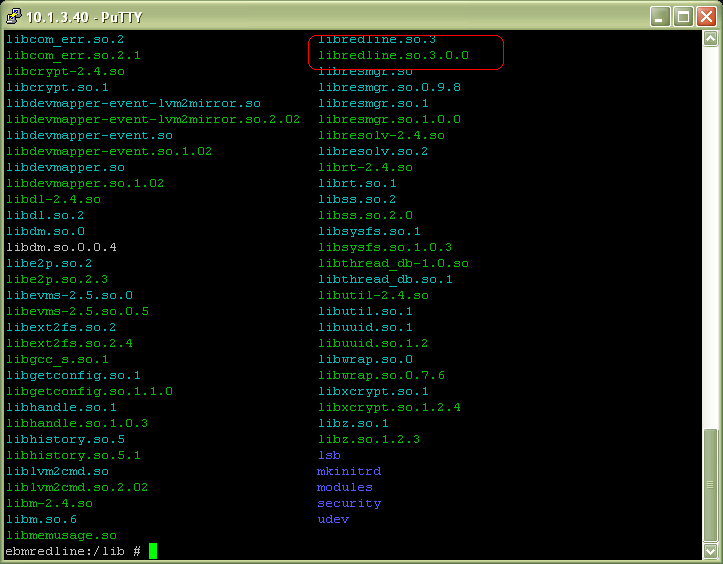
In this folder is a file called: libredline.so.3.0.0
Copy this file to the lib directory (/lib) on each of the nodes.
Then on each of the nodes type: ldconfig.
Note: ldconfig must be run in order for ldconfig to create the necessary links and cache (for use by the run-time linker, ld.so) to the most recent shared libraries found in the directories specified on the command line, in the file /etc/ld.so.conf, and in the trusted directories (/usr/lib and /lib).
Additional Information
This article was originally published in the GWAVA knowledgebase as article ID 1336.